How to Create a Task in Lifted Work
A complete walkthrough of every task option: title, assignment, due date, time estimate, AI instructions, autocomplete, after-completion prompts, tags, and visibility.
1 Creating a New Task
Navigate to your tasks view and click Create Task. Every task starts with a client, due date, assigned team member, and optionally a task template. From there, configure the options below.
2 Task Options
- Client: which client this work is for
- Due Date: when the task should be finished
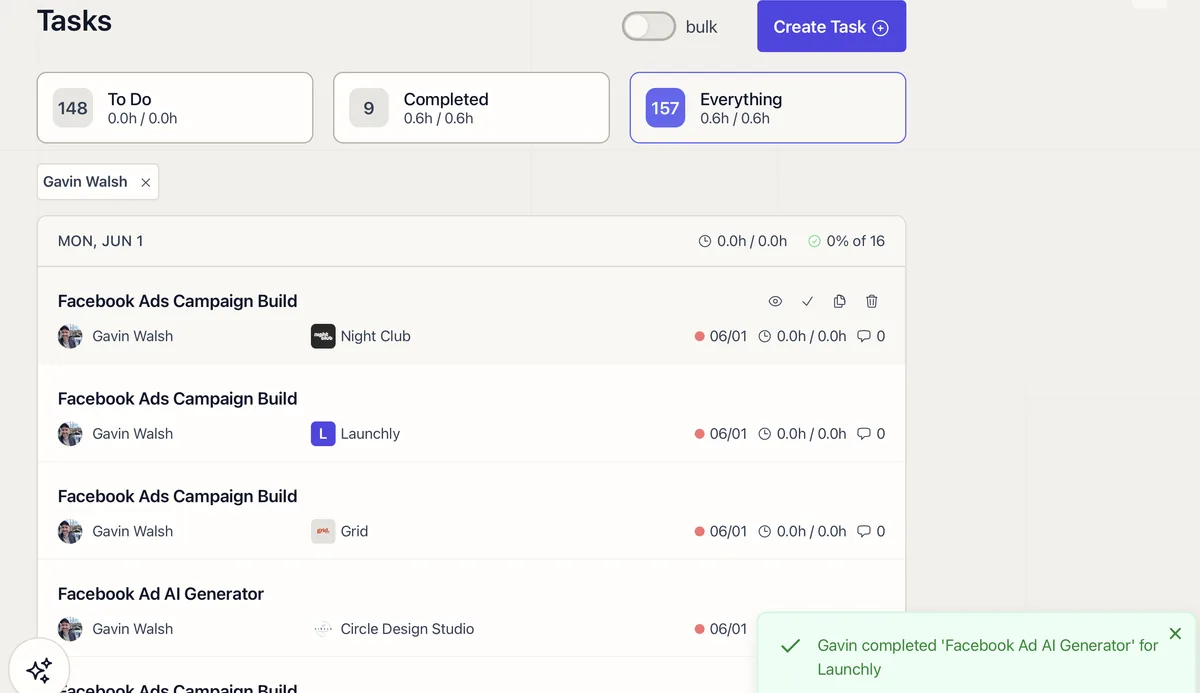
- Assigned To: the team member responsible
- Task Template: select a saved template to pre-fill title, instructions, time estimate, tags, and settings
- Task Title: a clear, descriptive name
- Visibility: Standard (visible in client portal), Client Only, or Agency Only
- Minutes: budgeted time used for retainer and workload tracking
- Autocomplete: toggle ON to let the AI process the task automatically at the due date
- Tags: labels for organizing and filtering (e.g., “SEO”, “Social”, “Reporting”)
- Instructions: human instructions for your team: checklists, Loom videos, embedded Scribes, and step-by-step procedures
- Lifty Prompt: AI instructions that tell the autocompleter what to produce. Supports @mentions to reference templates and teammates
- Run on complete: toggle that appears when the Lifty Prompt has content. When enabled, the prompt runs automatically when the task is marked complete
- Tools for AI: restrict which tools the AI can use when processing this task (leave empty for all tools)
- Attachments: upload files to include with the task
3 Instructions vs. Lifty Prompt
Instructions are for your team. Write step-by-step procedures, link to resources, embed Loom walkthroughs, and list specific deliverables. You can also embed YouTube videos and Scribes.
Lifty Prompt tells the AI what to produce. Include the desired output format, tone, and any constraints. The AI has access to client context (description, brand info, past work) automatically. Use @mentions to reference task templates and teammates. (Clients can be @mentioned in the Lifty AI sidebar chat, but not in a task’s Lifty Prompt field.)
4 Chaining Tasks with Run on Complete
Enable Run on complete to chain tasks together. When someone marks the task complete (or the AI autocompletes it), the Lifty Prompt runs automatically. For example:
Create a “Content Brief” task using @ContentBrief assigned to @TeamMember due in 3 business days
This turns a single task completion into a trigger for the next step in your workflow.
5 Tips
- Use task templates for recurring work so your team starts from a consistent baseline
- Set minutes on every task to track retainer usage accurately
- Use tags to filter tasks across clients (e.g., all “SEO” tasks for the month)
- Set visibility to Agency Only for internal prep work that clients should not see
- Toggle Autocomplete for tasks that the AI can handle without human review. See the AI Task Scheduling guide for patterns on automating recurring work
- Browse the AI Playbooks for ready-to-use task chains you can import
Related how-tos
-
01
How to Use the Lifty AI Sidebar
Lifty is a built-in chat assistant for agency admins and managers. Create tasks, generate milestones, draft emails, and pull analytics from a single sidebar.
 02
02
Onboard New Clients in Under 15 Minutes
A step-by-step process for setting up new clients in Lifted Work, from creating the client to previewing their portal.
 03
03
How to Manage Your Lifted Work Plan and Billing
Account management and subscription guidance for Lifted Work.
 04
04
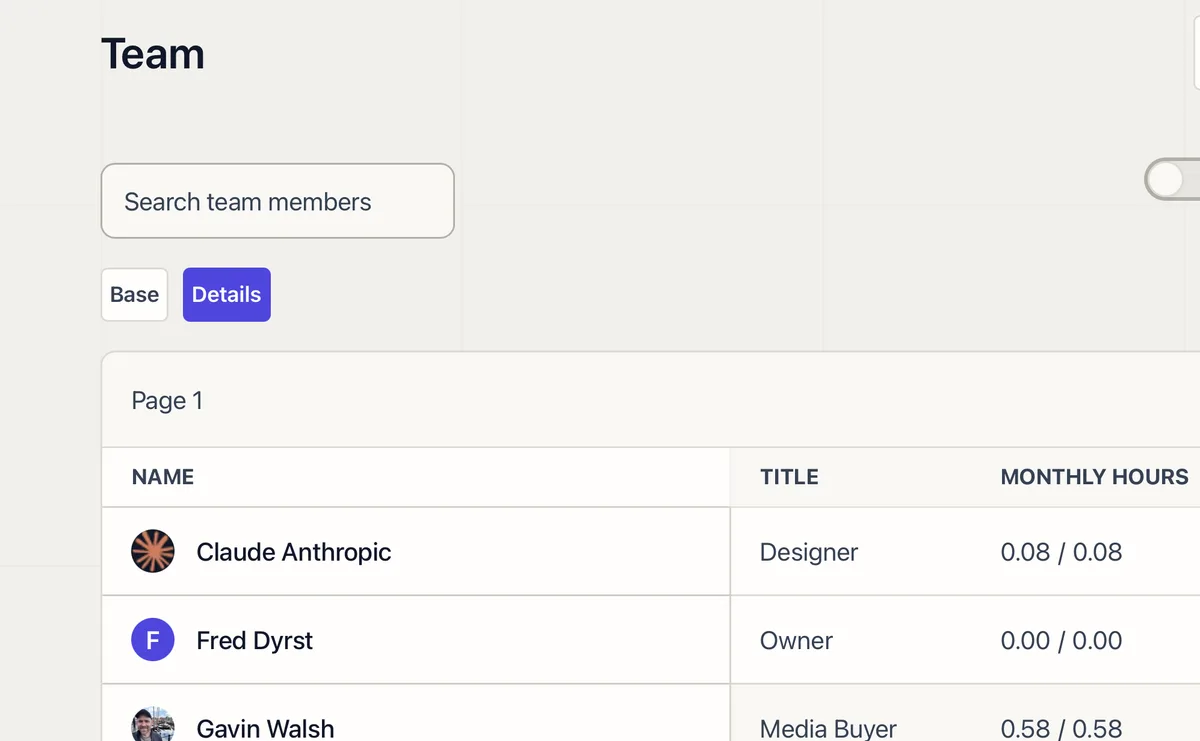
Team Roles and Permissions with Lifted Work's Team Management System
Understand how access control and team structure configuration works in Lifted Work.