Onboard New Clients in Under 15 Minutes
A step-by-step process for setting up new clients in Lifted Work, from creating the client to previewing their portal.
1 Step 1: Create the Client
- Click Create Client
- Enter the client name and website URL
- The system auto-extracts brand colors, fonts, and logo from the website
2 Step 2: Fill in the Overview
- Add a clear client description covering objectives, services provided, and key background info
- This description follows every task and is visible to your team and AI, so make it useful
3 Step 3: Add Contacts
- Add client team members who need portal access
- When drafting emails through Lifty, you’ll select the recipient from this contact list
4 Step 4: Assign Services
- Mark which services are active for this client
- Flag potential upsell opportunities, which show in the client’s Services tab
5 Step 5: Set Up Milestones and Tasks
You can do this manually or let AI handle it.
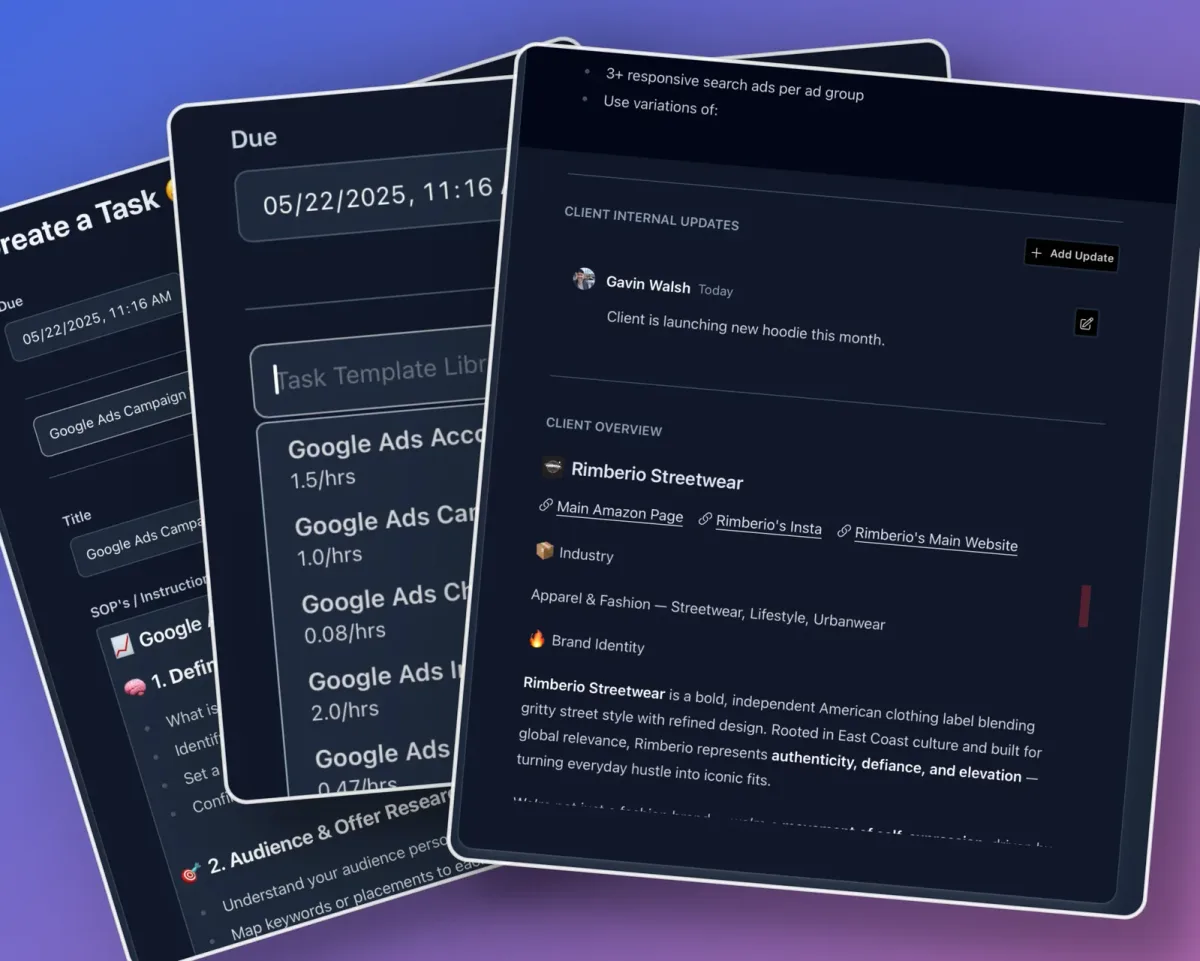
Manually: Create 1-2 tasks (e.g., “Kickoff call”, “Brand asset review”) and a few milestones (kickoff, first deliverable review, 30-day check-in) so the portal looks active from day one. Use task templates for consistency across clients.
With AI: Open the Lifty sidebar and create your milestones and initial tasks in one prompt:
Create a milestone called “Kickoff Call” for 2 business days from now for @AcmeDesign. Create a milestone called “First Deliverable Review” for 2 weeks from now for @AcmeDesign. Create @Brand Asset Collection due in 3 business days for @AcmeDesign assigned to @Sarah. Create @Initial SEO Audit due in 1 week for @AcmeDesign assigned to @Marcus. Create @Kickoff Call Prep due tomorrow for @AcmeDesign assigned to @Sarah.
The @mentions pull in your saved task templates (with their SOPs, time estimates, and settings), assign to the right person, and associate with the client. One prompt, and the client’s first two weeks of work are scheduled.
6 Step 6: Build an Onboarding Template for Next Time
Once you’ve onboarded a few clients, save the pattern as a reusable task template:
- Create a template called “Client Onboarding” in Settings > Task Templates
- Add a Lifty Prompt with your standard onboarding schedule (milestones, tasks, and assignments using @mentions and relative dates)
- Enable Autocomplete so it runs as soon as you create a task from this template
Next time you sign a new client, create one task from your onboarding template and the AI builds out the entire first month: milestones, tasks with SOPs, and assignments. Every new client gets the same consistent start. Or skip building your own template and use the Client Onboarding AI Playbook, which researches the client’s website, creates milestones, and builds out tasks automatically.
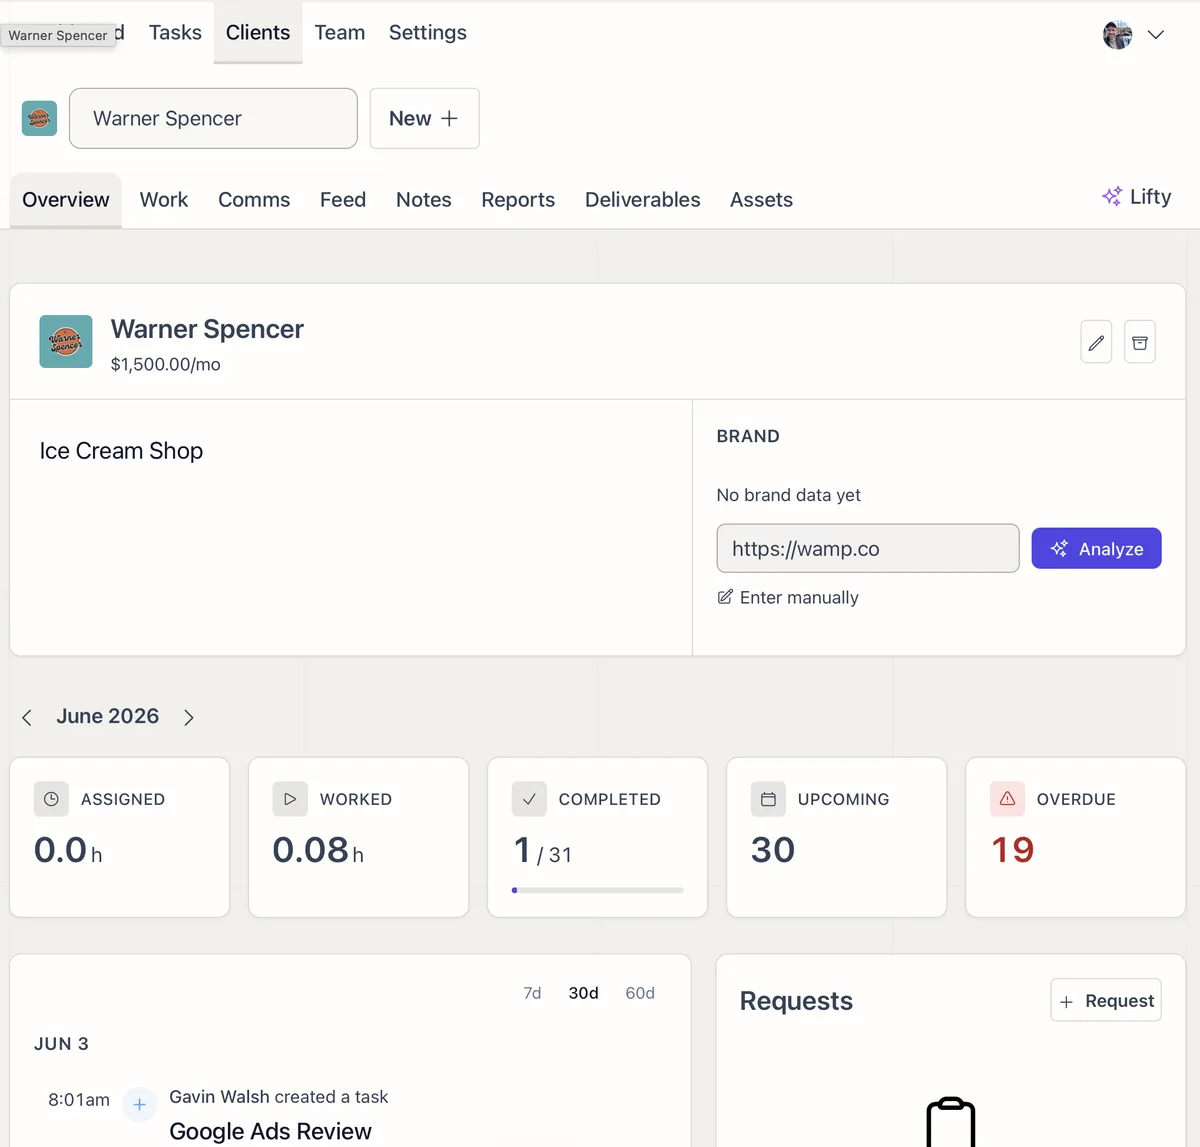
7 Step 7: Preview the Portal
- Click into the client portal view to verify everything looks polished before sharing access with the client. The Client Portal guide covers how each tab works and what clients see
Related how-tos
-
01
How to Manage Your Lifted Work Plan and Billing
Account management and subscription guidance for Lifted Work.
 02
02
Team Roles and Permissions with Lifted Work's Team Management System
Understand how access control and team structure configuration works in Lifted Work.
 03
03
Slack Message to Emoji Reaction to Lifted Work Task
Learn how to integrate Slack emoji reactions with automatic task creation in Lifted Work.
 04
04
How to Use Task Templates in Lifted Work
Create reusable task blueprints with instructions, time estimates, Tools for AI settings, and Run on complete prompts. Organize them into groups for your agency.